If you’re wondering how to calibrate your fertilizer spreader quickly and easily, look no further.
As with all machines, if they are not set up correctly they will end up making more work for you, or worse, killing the very thing you are trying to grow!
Let’s face it, it is so much easier to do a job properly the first time, than having to go back and fix mistakes.
Perhaps it’s the math, or uncertainty that’s holding you back?
However, I guarantee once you’ve got into the habit of checking how to calibrate your fertilizer spreader easily, you’ll be saving time and money.
So let’s get started on calibrating your fertilizer spreader for maximum effect and minimum stress.
Which Type of Fertilizer Spreader?
There are two main types of fertilizer spreader – a drop spreader, or a broadcast spreader, also called a rotary spreader.
A drop spreader has a rectangular shaped hopper with holes in the bottom. Once the holes are opened, the fertilizer drops down onto th turf below using gravity. This type of spreader is great for smaller areas and for dealing with edges, as you can be more precise in tight spaces.
However, you do need to be very exacting with each pass you make to ensure you don’t leave gaps between the fertilizer lines. Otherwise you will end up with a striped lawn! Uneven application is not a good look when you are trying to achieve bowling green precision.
If speed is of the essence, you may well be better off with a broadcast spreader.
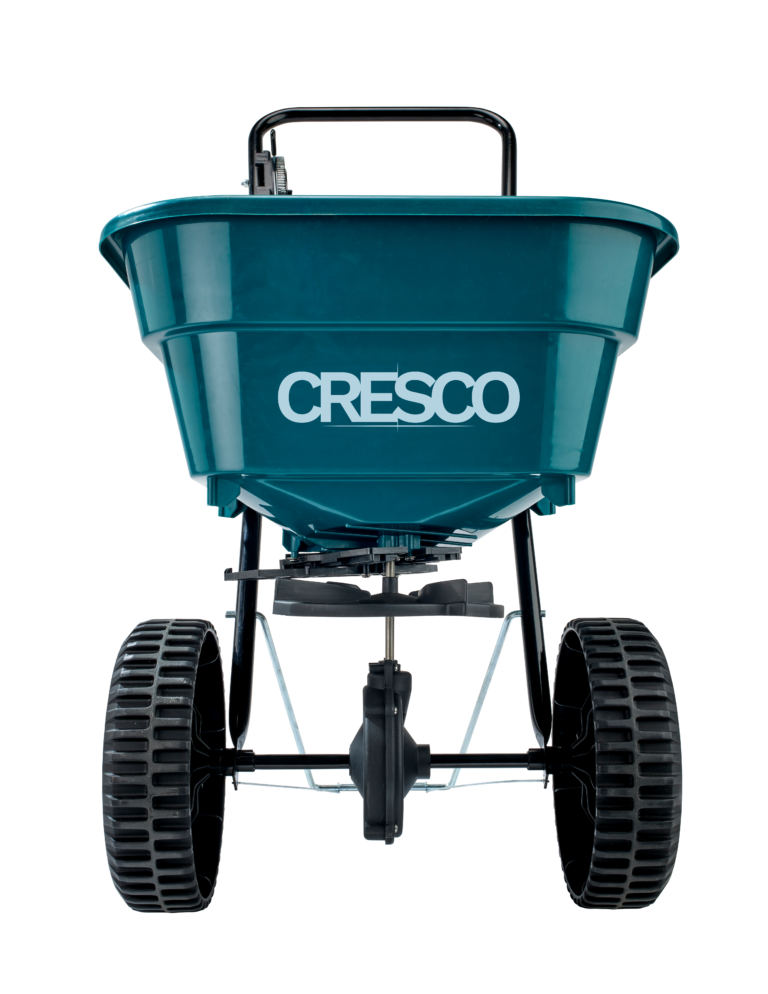
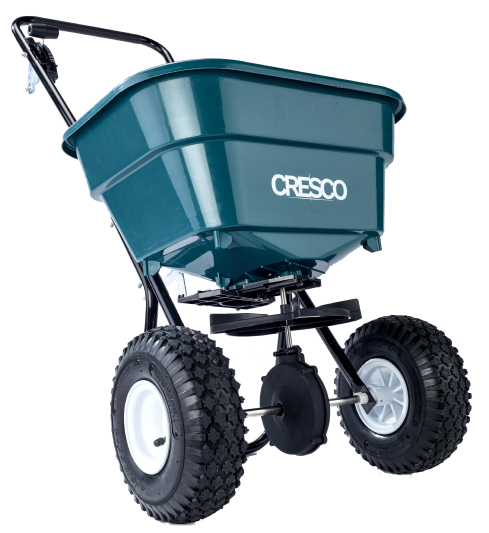
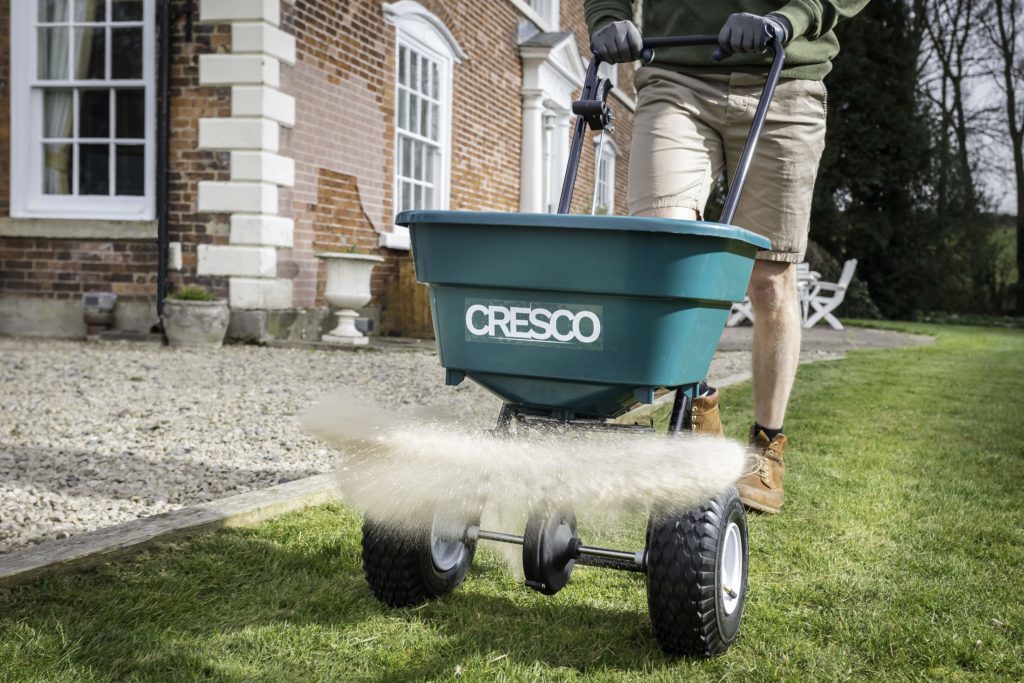
A broadcast spreader has a larger hopper above a spinning disk which, when the hopper is opened, spins the fertilizer out in an arc in front of you. The benefit of this is you will cover a much greater area in less time.
And what of the stripes? Well, the spinning disk distributes a smaller amount to each far side of its arc, therefore making it much easier to overlap on your next run. This eliminates lack of fertilizer coverage, making sure all your turf receives the right amount of nutrients.
For an all-over, even coverage in the shortest amount of time, a broadcast spreader is best.
Benefits of Calibrating your Fertilizer Spreader Correctly
Putting down the wrong amount of fertilizer because of a lack of calibration is time consuming. If you haven’t put down enough, your turf is not getting the nutrients it needs to grow healthily.
Over-fertilizing results in additional costs and dead lawn. And, of course, extra time in having to fix errors.
Why have Calibration Settings?
A good fertilizer spreader will have different settings allowing you to deliver a range of different sized fertilizers through the same spreader. The settings can be adjusted to make sure you are delivering the correct amount of fertilizer for the area of your turf.
Fertilizer spreading is all about precision. Being able to adjust the settings to allow for the speed of your walk, the size of the fertilizer through the hopper and the arc of the spread from the spinning disk (if you are using a broadcast spreader), and will determine the success of your fertilizer spreading.
How to Calibrate your Fertilizer Spreader Step by Step
Whether you’re using a drop spreader or a broadcast spreader you need to calibrate your machine. Each spreader will need to be set up according to the type of fertilizer you are using and the operator’s pace.
In preparation, make sure your spreader is clean and all the moving parts work as they should. There’s nothing worse than a stuck lever when you’ve just filled the hopper full of fertilizer.
Recipe for Successful Fertilizer Spreader Calibration
Along with your fertilizer and spreader, gather together:
- Set of scales capable of measuring small amounts accurately
- Bucket
- Tape measure
- Chalk, garden string or pegs for marking out
- Pen and paper for your calculations
Step 1: Work Out Your Test Area
Most fertilizer manufacturers work out their programs based on a certain number of pounds of fertilizer per 1000 square foot.
Now, you may decide to mark out an area based on the full 1000 sq ft, or you may decide to mark out half that, 500 sq ft.
If this is the case, make sure to multiply your results by 2.
You could choose to mark this out on your lawn. Alternatively, you could mark it out on tarmac, sweep up the fertilizer when you’ve finished and reuse. This way you won’t have wasted anything, nor over/under fertilized any turf in the process.
Step 2: Adjust Distribution Hole Size
Adjust the distribution hole size according to manufacturers recommendations. This is usually done by a lever on the back of the hopper, indicated by either numbers or letters.
Step 3: Weigh out Correct Amount of Fertilizer
Using the scales and bucket, measure out an amount of fertilizer recommended by the manufacturer sufficient to cover the size of your test area. For instance, if a 25lb bag covers 5000 sq ft, you will need 5lbs to cover 1000 sq ft.
Add the fertilizer to the spreader, making sure the distribution holes are closed in the hopper.
Step 4: Begin Fertilizer Spreading
If you can, begin walking at a steady pace before you reach your test area. This will help you get into a rhythm before you start spreading fertilizer. Keep the distribution holes closed until you reach the beginning of the test area.
Open the distribution holes and cover the test area in the way you would normally fertilize your lawn. Remember to close the distribution holes as soon as you have finished the test area. This will prevent any spillages messing up your calculations.
Step 5: Calculate How much Fertilizer Remains
Take the remaining fertilizer from the spreader and tip into your bucket. Pop the bucket back onto the scales. Subtract the amount you have left from the amount of fertilizer you started with.
How much you have left will determine whether you were spreading too quickly, too slowly, or about right.
If either extreme – too much or too little left – rerun the experiment adjusting distribution settings as required.
When you are happy with your calculation, make sure to write it down! Adding this information to your knowledge bank will save time and money when you next need to know how to calibrate your fertilizer spreader.

Fertilizer Spreader Calibration Tips
- Use a set of adjustable scales you can place a bucket on, so you can accurately measure the amount of fertilizer. Transferring a bucket from the scales to the spreader hopper is a lot less messy and easier to handle. Plus, you’ll get a more accurate reading of how much fertilizer you are adding to your hopper.
- Measure out slightly more fertilizer than the amount recommended to cover your test area. This helps maintain the same rate of fertilizer flow through the spreader as you come to the end of your test run.
- Remember to make a note of your calculations to refer to next time.
- Marking out on tarmac is useful, as you won’t damage any turf during your experiments. Also you can sweep up the used fertilizer to reuse, so no wastage.
- Worth carrying out this exercise on how to calibrate your fertilizer spreader regularly, as the spreader parts wear and your calculations can become distorted.
For an in-depth look at calibrating your broadcast fertilizer spreader, why not take a look at calibrating your fertilizer spreader with PennState Extension.
How to Calibrate Your Fertilizer Spreader For Success
Learning how to calibrate your fertilizer spreader is time well spent, even though it may feel frustrating initially.
By using the tips and steps above, you’ll be setting your fertilizer spreader up for success.
But what if there is another way? A way of buying a new fertilizer spreader with all the calibration analysis done for you?
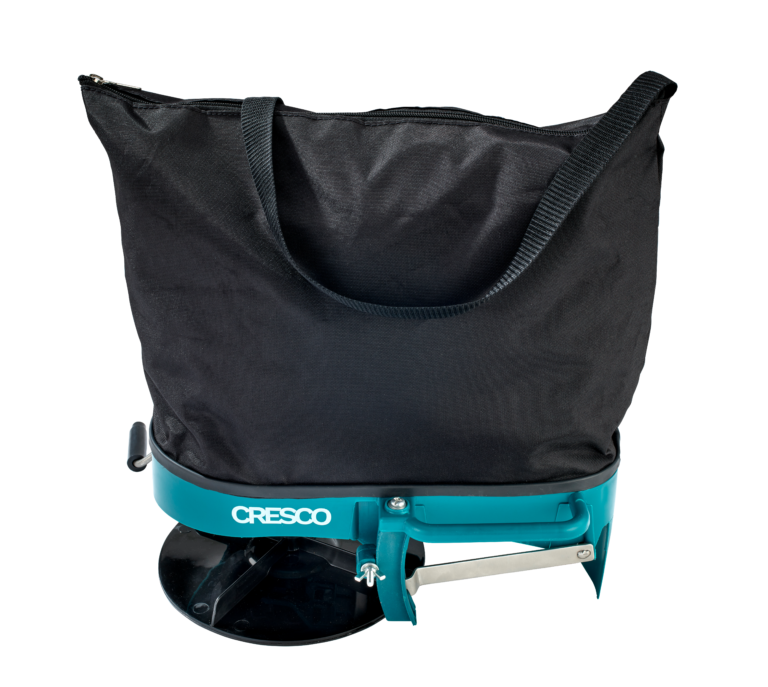
If you’d like to explore a new way of spreading your fertilizer, take a look at the Cresco range of fertilizer spreaders. Big on the latest technology, gentle on your pocket, these spreaders all come with the backing of Cresco’s Calibration Centre.
Say goodbye to all the lost time as you trial different settings, and say hello to the Cresco data vault. You’ll wonder how you ever managed before!
